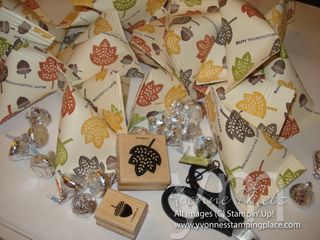
 Happy Friday everybody! Is it just me or did this week just fly by? Well it sure seemed to for me, but then again I was super busy. I wasn't feeling to well yesterday but I mentioned I was making little treat holders for my son's class. Well I did get them done and wanted to share those today.
Now this project is an oldie but a goodie! Love the sourcream containers. They are super easy to make! If you haven't tried them you should. Below is a quick tutorial on how to make them. Would LOVE to see what you make. Comment me with the link!
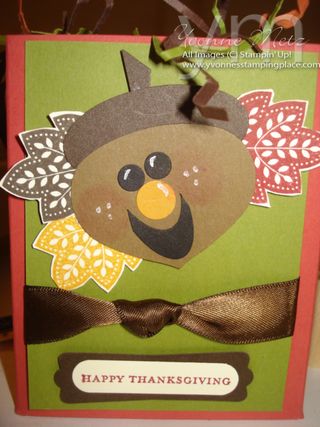 Also I made his Teacher a cute little box with "Mr. Acorn". Is he not the cutest?
I got this idea from a fellow Demonstrator Doris Denman. Being a Stampin' Up! Demonstrator we have access to a site called "Stampin' Connection" and that's where I saw it! She's has other amazing projects that I'll just have to share a little later! ; )
His face is the Ornament Punch! How clever is that??? I will share more of Mr. Acorn a little later.
Now on to the Picture Tutorial for the Sourcream Container!
Stamp set: Day of Gratitude, Teeny Tiny Wishes.
Ink used was: Early Espresso, Old Olive, More Mustard, Crajun Craze, Chocolate Chip & Basic Black
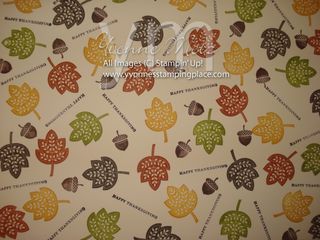
Step 1
I randomly stamped a full sheet of Very Vanilla cardstock using the Leaf, the acorn and Happy Thanksgiving using the colors mentioned above.
Step 2
Cut into 4 even pieces 4 1/4 then in half at 5 1/2 you'll have 4 pieces measuring 4 1/4 x 5 1/2.
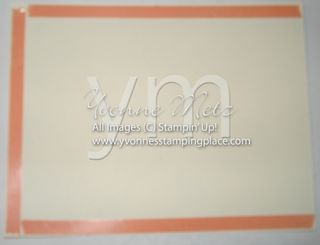
Step 3
Next you'll put your adhevsive as shown.
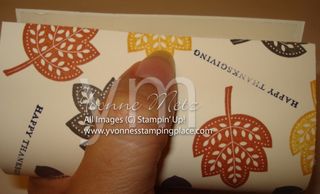
Step 4
You'll want to take off the sticky strip from the 4 1/4 inch side and roll like toilet paper and you'll end up with what should look like a toilet paper roll.
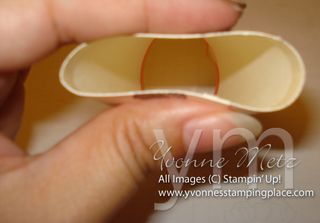
Step 5
They you'll take the sticky strip off of one side and squeeze together like shown.
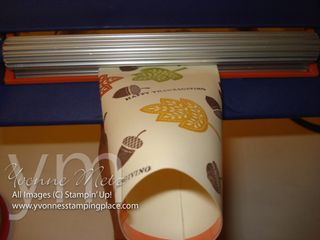
Step 6
Put that end into the crimper and turn about 3 times. This will hold the sticky strip real good in place.
Before you pull off the next side of sticky strip put your goodies inside. I used Hershey's Kisses 3-4 will fit good inside.
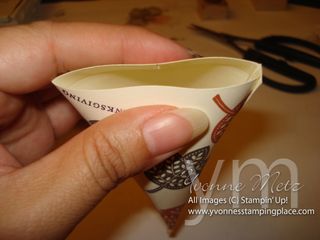
Step 7
Squeeze again put the opposite way. Look at the bottom of the photo.
Then run through the crimper again and you are done. Now you can add a tag to these too! How cute would that be. I just ran out of time.
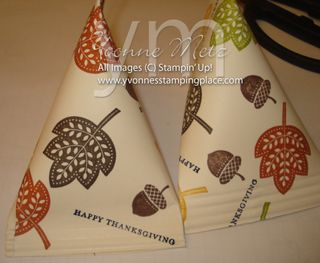
This will be your finished project! Now was that easy or what?
As always thanks for stopping by and tomorrow I'll share the party favors I made for my Son's end of the season baseball party. TOO fun!
Have a great weekend and Happy Stampin',
Yvonne Metz
Vista, Ca.
Hello again! I just had to share this cute and fun treat holder. I kept getting booted off the computer last night and so I gave up! So far was able to post earlier today so all is well so far. ; ) Well I was in Target and found these Chocolate Santas, you get 3 in a box for 99 cents! Woo Hoo! So I just had to come up with a holder for them and a video for you! Give it a try! Would LOVE to see what you come up with! Comment me here with the link so I can see! Have fun and thanks for stopping by!
Supplies used are all Stampin' Up!